There is nothing worse than having to stop midway through a Saturday build because you ran out of screws or 2x4s. I put this list together so you don’t have to make that frustrating third trip to the hardware store.
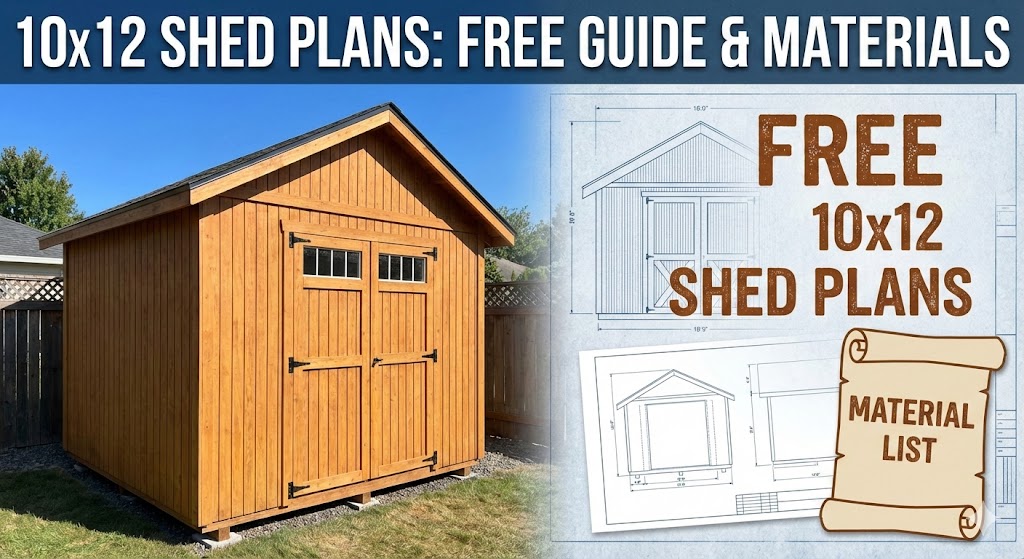
Free shed plans 10×12 with material list provide a comprehensive blueprint for constructing a 120-square-foot outdoor structure using standard dimensional lumber. This specific footprint fits within most municipal “permit-free” zoning allowances while offering sufficient capacity for garden tractors, workbenches, and seasonal storage. A standard 10×12 shed build requires a pressure-treated wood foundation, 2×4 wall framing, and a gable roof pitched to shed water effectively.
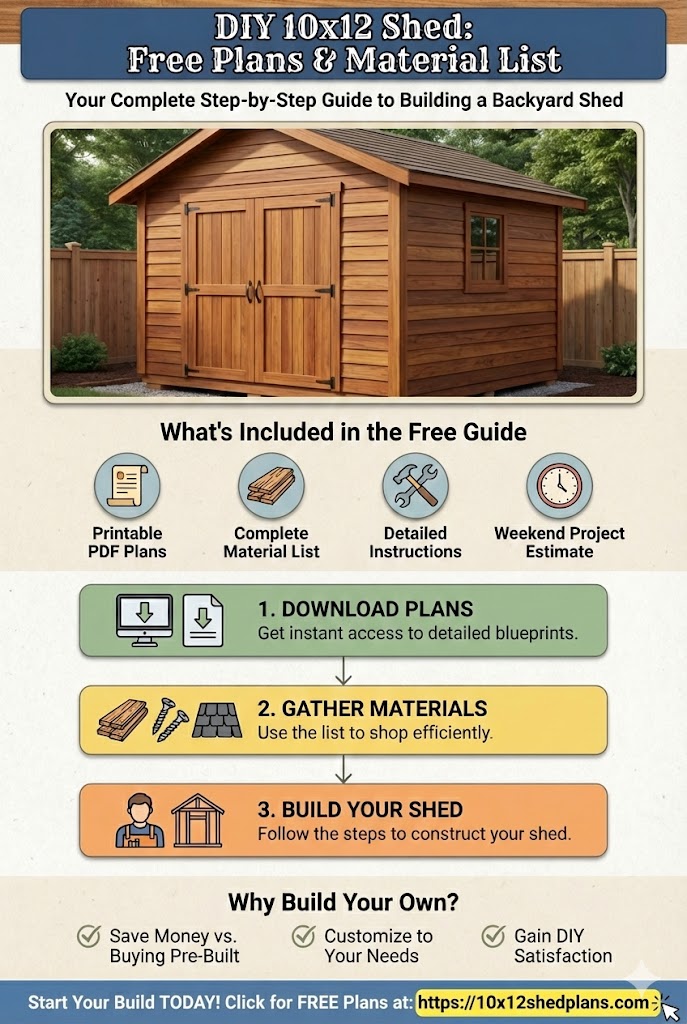
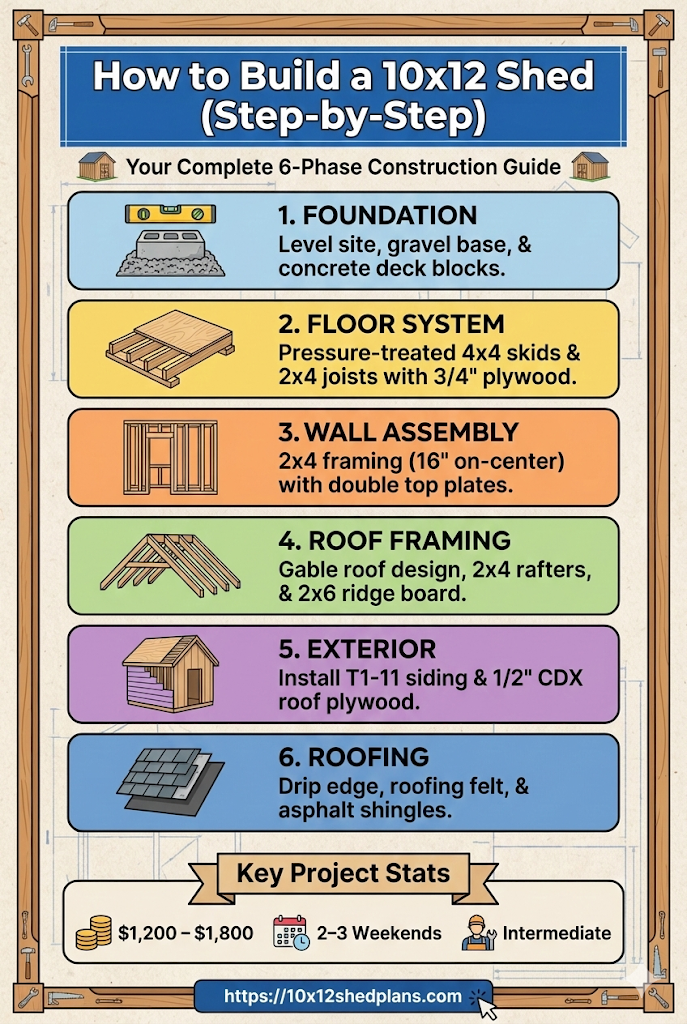
Key structural phases for this project include:
- Foundation Prep: Leveling the site and installing gravel and concrete support blocks.
- Floor Construction: Building a 10×12 platform with 2×4 joists and 3/4″ plywood.
- Wall Assembly: Framing four walls with 16″ on-center spacing and rough openings.
- Roof Framing: Cutting and installing rafters, a ridge board, and roof decking.
- Exterior Finish: Applying siding, trim, and asphalt shingles.
Complete Material List for 10×12 Shed
To minimize waste and ensure structural integrity, purchase the following materials. Quantities account for a standard gable roof design with a single door and one window.
Foundation and Floor System
- (3) 4×4 x 12′ pressure-treated skids (ground contact rated).
- (12) 2×4 x 10′ pressure-treated lumber (for floor joists).
- (2) 2×4 x 12′ pressure-treated lumber (for rim joists).
- (4) 4’x8′ sheets of 3/4″ tongue-and-groove plywood (floor sheathing).
- (15) Concrete deck blocks or solid cement pavers.
- (1) Cubic yard of 3/4″ crushed gravel (for drainage under blocks).
Wall Framing
- (45) 2×4 x 8′ kiln-dried studs (standard wall studs and cripples).
- (10) 2×4 x 12′ pressure-treated plates (bottom plates).
- (10) 2×4 x 12′ standard lumber (top plates).
- (2) 2×6 x 10′ lumber (for door and window headers).
- (12) 4’x8′ sheets of T1-11 siding (or 7/16″ OSB if using vinyl siding).
Roof System
- (24) 2×4 x 8′ lumber (for rafters).
- (1) 2×6 x 12′ lumber (ridge board).
- (6) 4’x8′ sheets of 1/2″ CDX plywood (roof sheathing).
- (4) 2×6 x 10′ lumber (fascia boards).
- (4) 2×4 x 10′ lumber (soffit blocking or overhangs).
Hardware and Roofing
- (5) Bundles of 3-tab asphalt shingles (covers ~160 sq ft including waste).
- (1) Roll of 15 lb roofing felt or synthetic underlayment.
- (5) lbs of 16d galvanized common nails (framing).
- (5) lbs of 8d galvanized box nails (sheathing/siding).
- (1) lb of 1-1/4″ roofing nails.
- (3) Heavy-duty T-hinges (for shed door).
- (1) Locking door latch.
Required Tools
Efficiency in construction relies on having the correct tools on hand before starting.
- Circular Saw (with a framing blade).
- Power Drill/Driver (with Phillips and Torx bits).
- Speed Square (essential for rafter angles).
- 4-foot Level and Torpedo Level.
- Chalk Line.
- Tape Measure (25-foot minimum).
- Framing Hammer.
- Safety Gear (goggles, gloves, ear protection).
Step 1: Site Preparation and Foundation
Select a flat area for the shed site. Remove turf and topsoil to a depth of 4 inches over an area slightly larger than 10×12 feet. Fill this excavation with crushed gravel and tamp it down to create a stable, draining base.
Arrange the concrete deck blocks in three rows of five. The rows should be spaced 5 feet apart (center to center) to support the 4×4 skids. Place the skids into the slots of the blocks. Use a 4-foot level to ensure the skids are perfectly level. If they are not, adjust the gravel height under the blocks.
Step 2: Building the Floor Frame
Cut two 2×4 pressure-treated rim joists to exactly 12 feet. Mark the layout for the floor joists on these rim joists at 16 inches on center (OC). Position the ten 10-foot joists between the rim joists and secure them using 16d nails driven through the rim joist into the end grain of the floor joists.
Square the frame by measuring diagonally from corner to corner. Both measurements must be equal (approximately 15′ 7-1/4″). Once square, toe-nail the floor frame to the underlying 4×4 skids. Install the 3/4″ plywood sheathing perpendicular to the joists. Stagger the seams and secure with 8d nails every 6 inches along the edges and 12 inches in the field.
Step 3: Wall Framing Assembly
Construct the front and back walls first. Cut two top plates and two bottom plates to 12 feet long. Layout stud locations at 16 inches on center. The front wall requires a rough opening for the door. For a standard double door, frame an opening 60 inches wide and 82 inches high. Install a header made from two 2x6s with a 1/2″ plywood spacer sandwiched between them above the door opening.
Build the two side walls next. Because the front and back walls extend the full 12-foot width, the side walls must fit between them. Cut the top and bottom plates for the side walls to 9′ 5″ (10 feet minus the 3.5-inch thickness of the two adjoining walls).
Raise the walls one by one. Secure the bottom plate to the floor with nails, ensuring the outer edge is flush with the floor framing. Plumb the corners with a level and nail the adjacent wall corners together. Install a second top plate (cap plate) over the first top plate, overlapping the corners to lock the walls together.
Step 4: Rafter Cutting and Roof Framing
The roof for this 10×12 shed uses a simple gable design with a 4/12 pitch (4 inches of rise for every 12 inches of run).
- Cut the Pattern Rafter: Take a 2×4 x 8′ board. Use a speed square to mark a plumb cut at the top ridge. Measure the hypotenuse length required for a 5-foot run (half the shed width) plus the desired overhang (typically 6-12 inches). Cut a birdsmouth notch where the rafter will sit on the top plate.
- Verify Fit: Test the pattern rafter on the wall plates to ensure the birdsmouth sits flat and the peak is centered.
- Batch Cut: Trace the pattern onto the remaining 2×4 lumber to create 24 identical rafters.
Install the 2×6 ridge board at the peak. Nail opposing pairs of rafters to the ridge board and then toe-nail them to the wall plates. Maintain 24-inch on-center spacing for the rafters.
Step 5: Sheathing and Siding Installation
Install T1-11 siding on the exterior walls. Ensure the vertical grooves are plumb. The siding should extend 1 inch below the bottom plate to cover the seam between the floor and the wall frame, preventing water intrusion. Secure with 8d galvanized nails.
Sheathe the roof rafters with 1/2″ CDX plywood. Start from the bottom edge (eaves) and work upward toward the ridge. Stagger vertical seams and use H-clips between sheets for added stability if required by local code.
Step 6: Roofing and Trim
Install metal drip edge along the eaves and rake edges of the roof. Roll out 15 lb roofing felt horizontally, overlapping rows by at least 2 inches.
Begin shingling at the bottom edge. Install a starter strip (shingles with tabs cut off) upside down. Nail full shingles over the starter strip, following the manufacturer’s instructions for exposure and nailing pattern. Cap the ridge with cut shingle tabs or purpose-made ridge cap shingles.
Cost and Time Estimates
- Estimated Cost: $1,200 – $1,800 (varying by lumber prices and region).
- Time to Build: 2–3 weekends for two adults.
- Skill Level: Intermediate.
Frequently Asked Questions (FAQ)
Do I need a permit for a 10×12 shed?
In many jurisdictions, sheds under 120 square feet (10×12) do not require a building permit. However, setback requirements (distance from property lines) always apply. Check with your local building department before starting.
What is the estimated 10×12 shed material cost?
The average 10×12 shed material cost ranges from $1,200 to $1,800 for a standard DIY wood build. This estimate includes pressure-treated skids, 2×4 framing lumber, plywood sheathing, and asphalt shingles. Costs may fluctuate based on current lumber prices and whether you choose premium upgrades found in our complete 10×12 shed plans expert guide.
Where can I find a complete material list for a 10×12 shed?
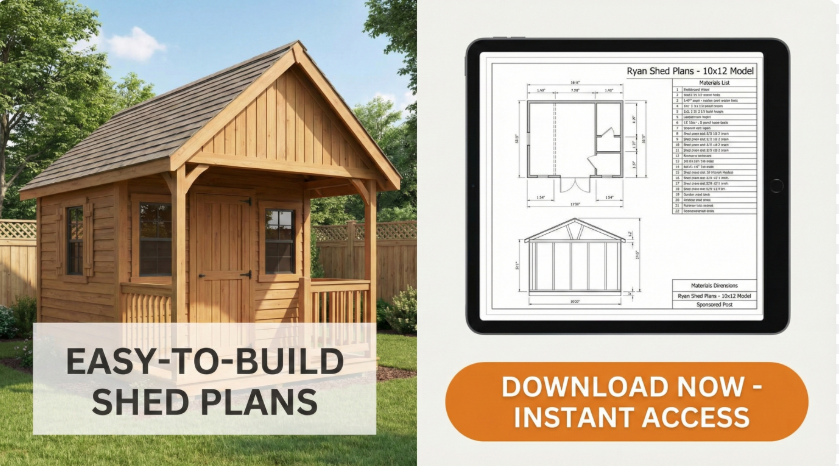
A comprehensive material list for a 10×12 shed includes:
(3) 4x4x12 skids, (12) 2x4x10 floor joists, (45) 2x4x8 wall studs, and (24) 2x4x8 rafters.
You will also need roughly 10 sheets of plywood for the floor and roof. For a formatted, printable version of this shopping list.
Are DIY shed plans 10×12 suitable for beginners?
Yes, DIY shed plans 10×12 are ideal for intermediate beginners. The rectangular footprint simplifies the foundation layout, and the gable roof design requires only basic rafter cuts. Most DIYers can complete this project in 2-3 weekends. For detailed diagrams that simplify these steps, check the downloadable PDFs in our 10×12 shed plans article.
Do 10×12 garden shed plans require a building permit?
In many jurisdictions, 10×12 garden shed plans (120 square feet) fall just under the requirement for a building permit. However, you must still adhere to local zoning setbacks, which dictate how close you can build to your property lines. Always check with your local building department first.
Why choose wood shed plans 10×12 over metal kits?
Wood shed plans 10×12 offer superior durability and customization compared to metal kits. A wood frame allows you to easily install custom shelving, hooks, and windows. Furthermore, wood structures anchored to a skid foundation withstand high winds better than lightweight metal alternatives.
How many 2x4s do I need for a 10×12 shed?
You will need approximately 45 2x4s (8-foot length) for the wall studs, plus roughly 24 2x4s for the roof rafters. This does not include plates or blocking.
Can I build this shed on pavers instead of skids?
Skids are recommended because they distribute the weight of the shed evenly across the ground and allow for airflow underneath the floor, which prevents rot. Pavers alone may shift independently, causing the floor to uneven.
