
Whether you are restoring a vintage walnut coffee table or sealing raw pine for an outdoor storage project, applying the right finish is the only thing standing between your hard work and ruin. Wood is a porous, living material that reacts aggressively to moisture, sunlight, and everyday wear and tear. Choosing the correct chemical barrier dictates how your project will look on day one and how it will survive over the next decade.
While putting the final touches on a new batch of 10×12 backyard shed blueprints, I learned the hard way that skipping the proper wood preservative will turn a sturdy build into a rotting mess within a year.
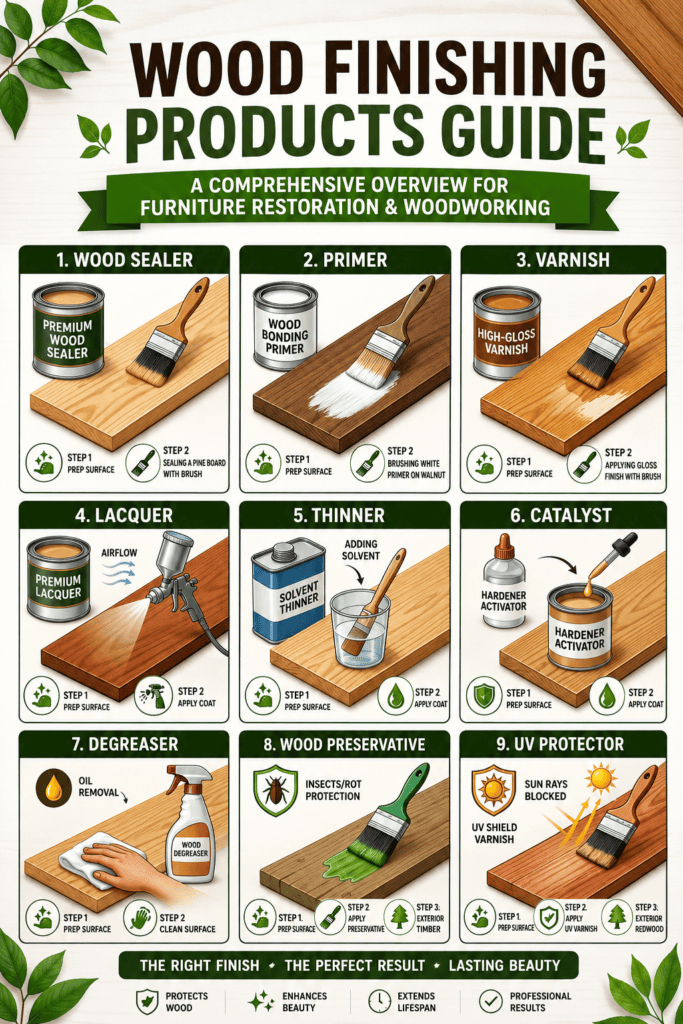
To help you navigate the complex aisles of the hardware store, here is a comprehensive breakdown of the nine fundamental wood finishing products, exactly what they do, and the best practices for applying them to your woodworking projects.
1. Wood Degreaser: The Essential First Step
Before you even think about picking up a piece of sandpaper or a paintbrush, the wood surface must be completely free of contaminants. Wood degreasers are heavy-duty chemical cleaning agents designed to pull oils, old waxes, and accumulated grime out of the wood grain.


If you attempt to sand a piece of wood that still has surface oils on it, the friction of the sandpaper will simply drive that grease deeper into the wood fibers. This creates microscopic barriers that will later block your sealers and topcoats from adhering, leading to peeling and a splotchy appearance. To use a degreaser properly, spray it generously across the target area, let it sit for a few minutes to break down the surface tension of the oils, and then wipe it away firmly with a clean, lint-free cloth. Always wear gloves, as these chemicals strip the natural oils from your skin just as easily as they do from the timber.
Degreasers are prep-cleaning agents designed to strip away oils, waxes, and grime from the wood surface.
- Best for: Furniture restoration or prepping wood that has been handled frequently.
- Application: Spray the degreaser onto the wood and wipe away the oils before you begin sanding or applying any new finish.
2. Wood Primer: The Bonding Bridge
A primer is not a topcoat; it is an intermediary bonding layer that sits between the raw, bare wood and your final coat of paint. You only use a wood primer when you intend to paint the wood a solid color. Primers are formulated with a high solids content, which allows them to fill in the tiny valleys of the wood grain and create a smooth, uniform surface.
More importantly, a high-quality primer blocks tannins. Tannins are natural compounds found heavily in woods like cedar, redwood, and walnut. If you apply a white or light-colored paint directly to these woods, the tannins will eventually bleed through the paint, leaving ugly yellow or brown stains. By applying a solid coat of white wood primer with a natural bristle brush, you lock those tannins beneath the surface. Once the primer is completely dry, lightly sand it with 220-grit paper to knock down any raised grain before applying your final paint color.
Primer creates a bonding layer between the raw wood and your final paint coat. It hides the wood grain and prevents tannins from bleeding through.
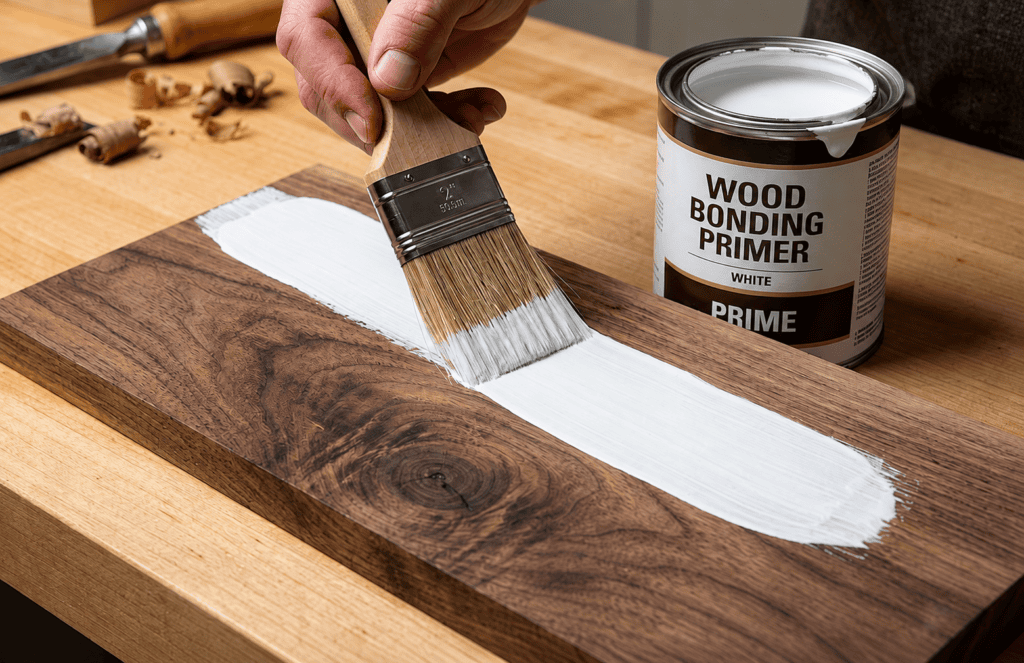
- Best for: Darker woods like walnut or heavily knotted woods when you intend to paint them.
- Application: Prep the surface, apply the white bonding primer with a brush, and lightly sand once dry before painting.
3. Wood Sealer: Controlling the Absorption
- Wood sealers do exactly what their name implies: they seal the pores of the timber. Softwoods like pine, fir, and spruce have highly uneven grain densities. If you try to apply a liquid stain directly to a raw piece of pine, the softer parts of the wood will drink up the stain like a sponge, while the harder grain will resist it. The result is a dark, muddy, and wildly uneven blotchiness.
- By brushing on a premium wood sealer first, you partially fill those thirsty pores. The sealer acts as a buffer, forcing the subsequent layers of stain or finish to penetrate evenly across the entire board. Sand the wood to your desired smoothness, remove all the dust with a tack cloth, and brush the sealer evenly along the length of the grain. Allow it to cure completely according to the manufacturer’s directions before moving on to your color coat.
A wood sealer blocks the wood’s pores to prevent it from absorbing moisture, stains, or subsequent finishes unevenly.

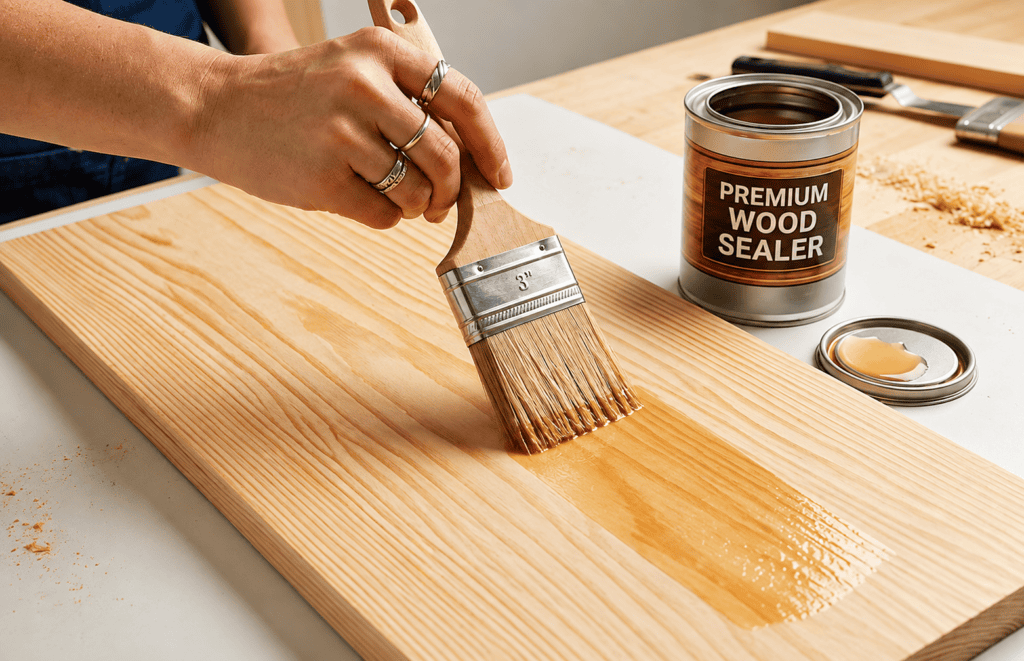
- Best for: Softwoods like pine that tend to soak up liquids inconsistently.
- Application: Prep the surface by sanding, clean the dust, and apply the premium wood sealer evenly with a brush.
4. Wood Preservative: Fighting the Elements
- For any project that will live outdoors—especially structures built from framing lumber or exterior timber—a wood preservative is mandatory. These products are aggressive, deep-penetrating chemical treatments formulated specifically to stop biological attacks. They contain fungicides and insecticides that prevent dry rot, fungal decay, and termite infestations.
- Wood preservatives are rarely used indoors due to their heavy chemical off-gassing and strong odors. However, for ground-contact posts, joists, or the exterior cladding of outbuildings, they are the first line of defense. Apply the preservative heavily using a thick brush, paying special attention to the end grain of the boards, as the ends soak up moisture faster than the faces. Let the timber sit in a well-ventilated area until the preservative has fully cured into the wood fibers.
Wood preservatives are deep-penetrating treatments designed to protect against insects, rot, and fungal decay.
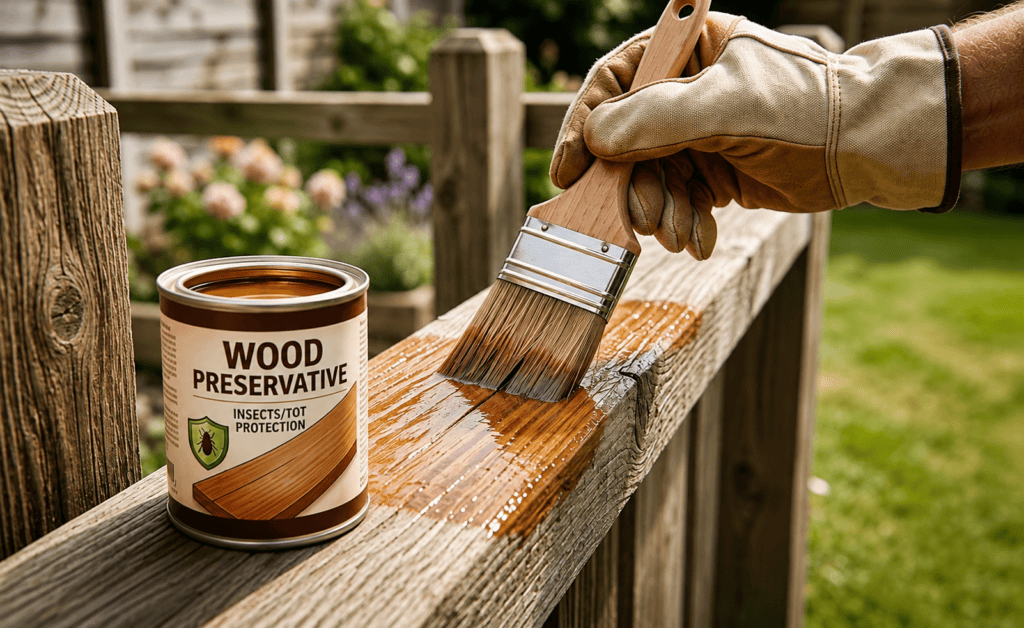
Best for: Exterior timber, ground-contact posts, and outdoor structures.
Application: Prep the surface, apply heavily to the exterior timber, and allow it to fully cure before exposing it to the elements
5. High-Gloss Varnish: The Hard Armor
- Varnish is one of the oldest and most reliable topcoats in woodworking. It is a clear, hard-drying finish made by cooking a drying oil with a resin. Varnish highlights the natural depth and color of the wood grain while providing a thick, durable shell that resists water, heat, and moderate chemical spills.
- High-gloss varnish is particularly popular for hardwoods like oak and mahogany because it creates a glass-like surface that amplifies the wood’s natural figure. Applying varnish requires patience and a dust-free environment. Use a high-quality, natural-bristle brush, load it moderately, and lay the finish down in long, continuous strokes following the grain. Never over-brush varnish, as you will introduce tiny air bubbles that will cure into the surface. Lightly scuff-sand between coats for maximum adhesion.
Varnish provides a hard, transparent protective layer that highlights the natural beauty of the wood grain while offering excellent durability.
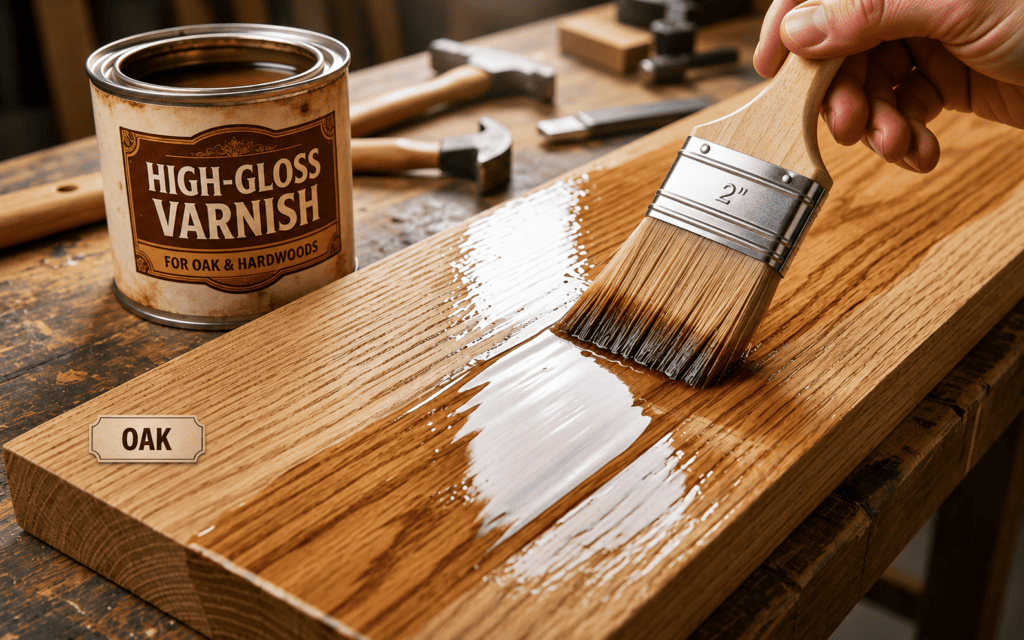
- Best for: Hardwoods like oak where you want a high-gloss, protective finish.
- Application: Prep the wood thoroughly. Apply the varnish with a high-quality brush, working with the grain to avoid streaks.
6. Wood Lacquer: The Professional’s Choice
- Lacquer is the standard finish for commercial furniture and high-end cabinetry. Unlike varnish, which cures through a slow chemical reaction, lacquer dries entirely through the rapid evaporation of its solvents. This means a coat of lacquer can be dry to the touch in just fifteen minutes.
- Because it is so thin and dries so fast, lacquer is incredibly difficult to apply evenly with a brush. It is almost exclusively applied using an HVLP (High Volume Low Pressure) spray gun. The major advantage of lacquer is that each new coat slightly melts into the previous coat, creating one unified, solid layer of finish rather than distinct, separate sheets. This makes repairs extremely easy. However, the fumes are intense and highly flammable, requiring dedicated airflow and professional respiratory gear during application
Lacquer dries quickly and leaves an incredibly smooth, premium finish. It is thinner than varnish and melts into previous coats, making repairs easy.

- Best for: Indoor furniture and cabinetry.
- Application: Due to its fast drying time and fumes, lacquer requires heavy airflow and is best applied using a spray gun rather than a brush.
7. UV Protector: Sun Damage Prevention
- Ultraviolet radiation from the sun is brutal on raw timber. UV rays break down lignin, the structural polymer that holds wood cells together. This process is what causes beautiful, rich woods to turn a dull, silvery-gray over time, eventually leading to surface checking and cracking.
- UV protectors are specialized varnishes or penetrating oils loaded with trans-oxide pigments and UV absorbers. They function exactly like sunscreen for your woodworking projects. When building outdoor furniture from expensive exterior woods like teak or redwood, applying a UV protector is critical to maintaining that fresh-cut color. Reapplication is usually necessary every one to two years, depending on the severity of the sun exposure in your region.
Wood preservatives are deep-penetrating treatments designed to protect against insects, rot, and fungal decay.

- Best for: Exterior timber, ground-contact posts, and outdoor structures.
- Application: Prep the surface, apply heavily to the exterior timber, and allow it to fully cure before exposing it to the elements.
8. Solvent Thinner: Adjusting Viscosity
- Thinners are volatile solvents used to cut the thickness of oil-based finishes. Different finishes require different thinners—mineral spirits for varnish, lacquer thinner for lacquer, and specific reducers for polyurethanes.
- You need a thinner when your finish is too thick to lay flat. If you notice your brush strokes aren’t leveling out and disappearing before the finish dries, the product is too viscous. By adding a small, measured amount of solvent thinner to your jar and stirring it thoroughly, you increase the “flow-out” of the finish. Thinners are also mandatory when you transition from brushing to spraying, as spray guns require a much thinner fluid dynamic to atomize the finish properly without clogging the nozzle.
Thinner is a solvent used to reduce the viscosity of oil-based paints, varnishes, and lacquers.
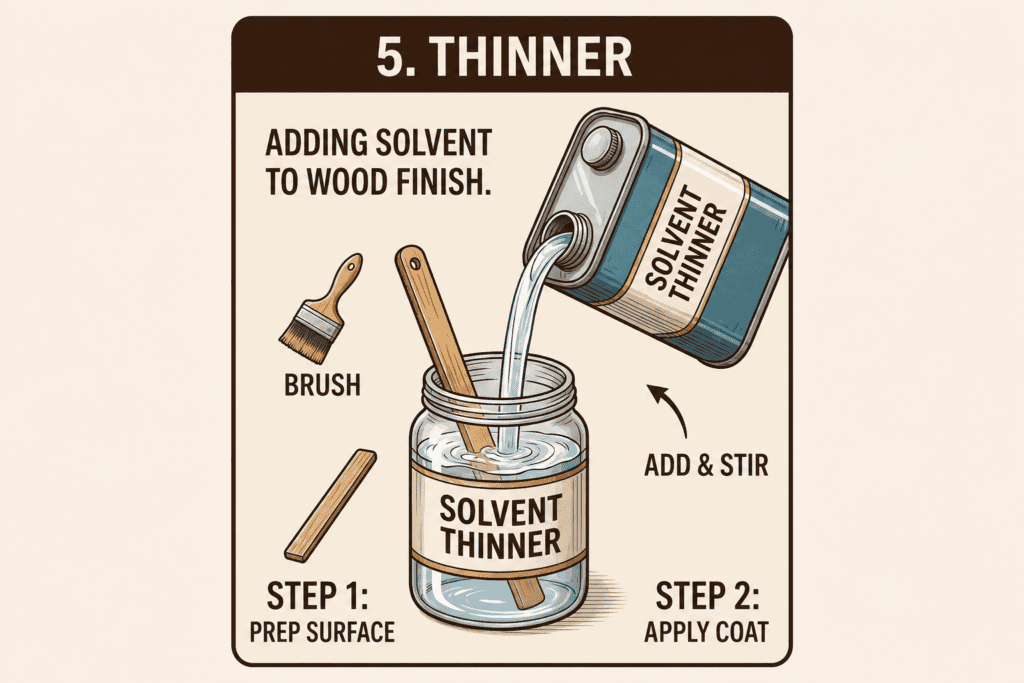
- Best for: Adjusting the consistency of your finish so it flows better through a sprayer or levels out cleanly from a brush.
- Application: Mix the solvent thinner directly into your finishing product according to the manufacturer’s ratios before applying your first coat.
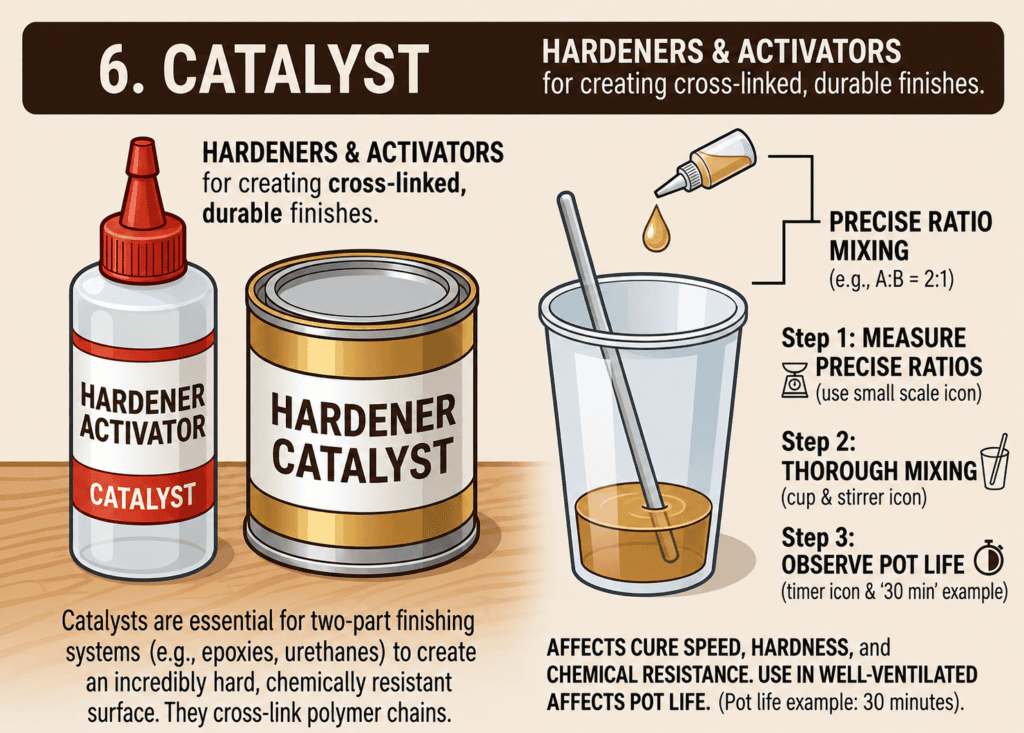
9. Hardener Catalyst: The Cure Accelerator
- A catalyst, or hardener, is a specific chemical additive used in two-part finishing systems. Products like catalyzed lacquers, two-part polyurethanes, and epoxies remain in a liquid state indefinitely until the catalyst is introduced.
- Once you mix the hardener drops into the primary finish, a rapid chemical cross-linking reaction begins. This reaction forces the finish to cure much harder, faster, and more chemically resistant than a single-part finish ever could. These systems are used on surfaces that take absolute abuse, like commercial bar tops or dining tables. The trade-off is “pot life.” Once the catalyst is mixed in, you are on a strict timer. You must apply the finish before it solidifies right inside the mixing cup. Always measure your ratios exactly according to the technical data sheet to ensure a proper cure.
A catalyst is a chemical hardener or activator. When mixed into specific finishes (like catalyzed lacquers or two-part polyurethanes), it triggers a chemical reaction that forces the finish to cure rapidly and harden.
- Best for: High-traffic surfaces like tabletops or bar tops that require extreme chemical and scratch resistance.
- Application: Add the specific hardener drops to your base finish right before application.